Good morning everyone and welcome back to a new Tooldech article. Today we’ll be talking about Serverless.
What is Serverless on AWS
The model Serverless in AWS It allows you to run code without having to manage physical or virtual servers. By using services such as AWS Lambda, API Gateway and DynamoDB, you can build scalable and low-cost applications, where AWS takes care of the infrastructure.
Why Choose Serverless
- No server management: you don’t need to worry about provisioning, patching, or scalability.
- Automatic scalability: the application adapts to the load in real time.
- Pay-per-use: you only pay for the actual use of resources.
Project Goal
We will create a serverless application capable of:
- Expose a REST API through API Gateway.
- Trigger a function AWS Lambda upon receiving HTTP requests.
- Store the received data in a table DynamoDB.
Prerequisites
- AWS account active
- Install and configure AWS CLI
aws configure) - Node.js installato (per il codice Lambda)
- IAM user with permissions for Lambda, API Gateway, and DynamoDB
Step 1: Creating the DynamoDB Table
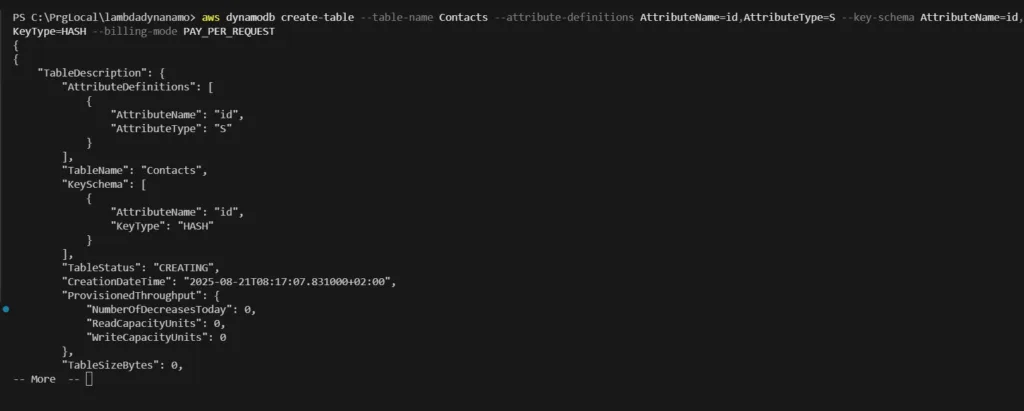
Open the terminal and create a DynamoDB table named Contacts:
aws dynamodb create-table \
  --table-name Contacts \
  --attribute-definitions AttributeName=id,AttributeType=S \
  --key-schema AttributeName=id,KeyType=HASH \
  --billing-mode PAY_PER_REQUEST
Explanation
AttributeName=id,AttributeType=S: defines a primary keyidof type stringPAY_PER_REQUEST: a billing model that scales automatically.
Step 2: Creating the Lambda Function
1. Create a folder for the project
mkdir lambda-contact-apicd lambda-contact-api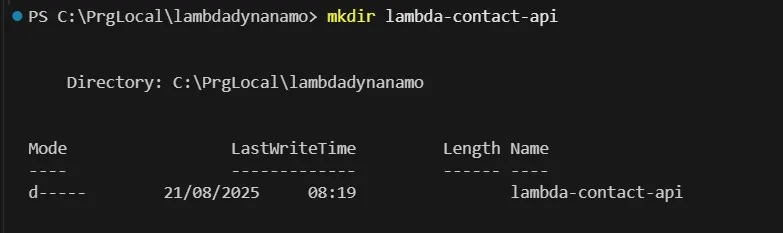
2. Initialize a Node.js project and install the AWS SDK
npm init -y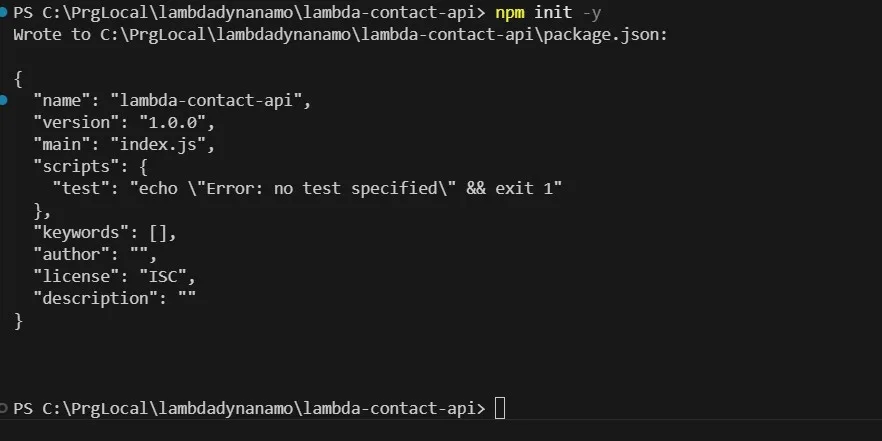
npm install aws-sdk
3. Create the file index.js with the following content:
const AWS = require('aws-sdk');
const dynamo = new AWS.DynamoDB.DocumentClient();
const { v4: uuidv4 } = require('uuid');

exports.handler = async (event) => {
  const body = JSON.parse(event.body);
  const id = uuidv4();

  const params = {
    TableName: 'Contacts',
    Item: {
      id: id,
      name: body.name,
      email: body.email
    }
  };

  await dynamo.put(params).promise();

  return {
    statusCode: 200,
    body: JSON.stringify({ message: 'Contatto salvato con successo', id })
  };
};
N.B. It must be placed in the “lambda-contact-api” folder.
4. Install uuid and create a zip file
npm install uuid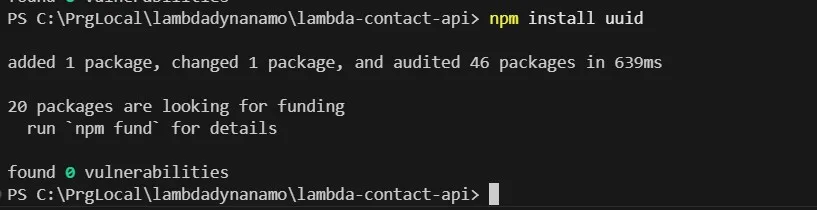
zip -r function.zip .This command is used and works on Unix/Linux/macOS, but on Windows PowerShell it is not natively supported in the same way. I’m including it anyway in case you are using other operating systems.
There are other ways, but the one I found is this, if YOU ARE USING WINDOWS
Compress-Archive -Path * -DestinationPath function.zip

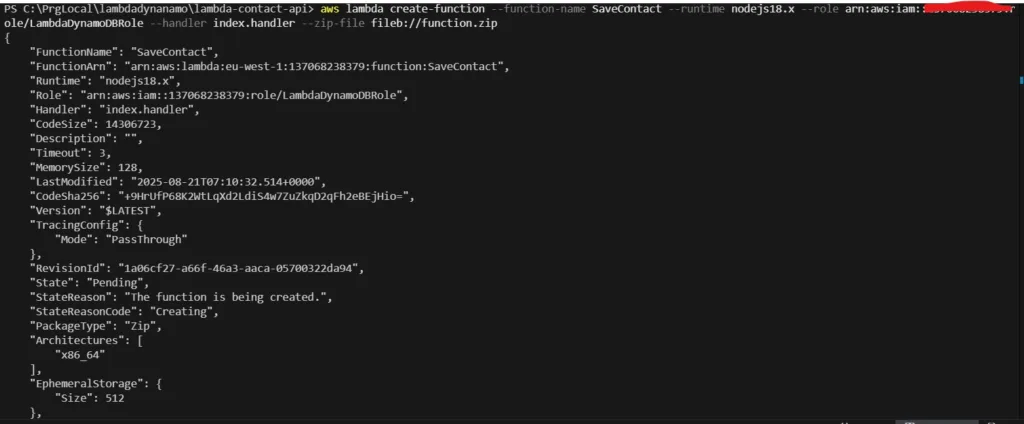
5. Create the Lambda function
aws lambda create-function \
  --function-name SaveContact \
  --runtime nodejs18.x \
  --role arn:aws:iam::<ACCOUNT_ID>:role/<ROLE_NAME> \
  --handler index.handler \
  --zip-file fileb://function.zip
Replace
<ACCOUNT_ID>and<ROLE_NAME>with the actual values of your account and the IAM role with permissions for DynamoDB.
Note: if you don’t have a role ready, you need to create one. Here’s a link on how to create a IAM ROLE.
Step 3: Configuring API Gateway
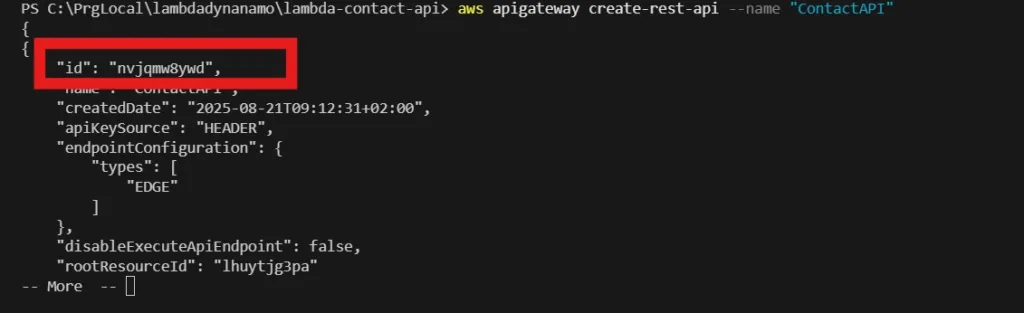
1. Crea una nuova REST API
aws apigateway create-rest-api \
  --name "ContactAPI"
Write down the returned API ID (e.g. abc123).
2. Retrieve the root resource ID
aws apigateway get-resources --rest-api-id abc123
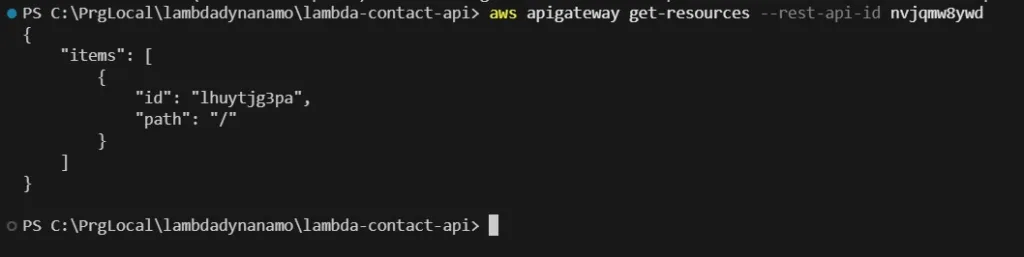
Write down the id della root (/) which in this case is “lhuytjg3pa”.
3. Create the resource /contact
aws apigateway create-resource \
  --rest-api-id abc123 \
  --parent-id <root_id> \
  --path-part contact

4. Add POST method
aws apigateway put-method \
  --rest-api-id abc123 \
  --resource-id <contact_id> \
  --http-method POST \
  --authorization-type NONE

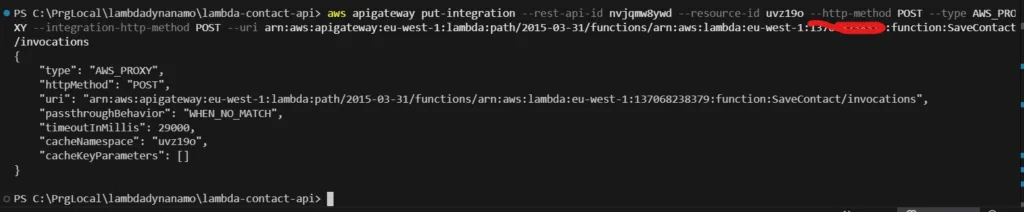
5. Connect Lambda as the integration
aws apigateway put-integration \
  --rest-api-id abc123 \
  --resource-id <contact_id> \
  --http-method POST \
  --type AWS_PROXY \
  --integration-http-method POST \
  --uri arn:aws:apigateway:<region>:lambda:path/2015-03-31/functions/arn:aws:lambda:<region>:<account_id>:function:SaveContact/invocations
Remember to replace
<region>and<account_id>with your actual values.
6. Grant API Gateway permission to invoke Lambda
aws lambda add-permission \
  --function-name SaveContact \
  --statement-id apigateway-access \
  --action lambda:InvokeFunction \
  --principal apigateway.amazonaws.com \
  --source-arn arn:aws:execute-api:<region>:<account_id>:<api_id>/*/POST/contact

Note: api-id is always our nvjqmw8ywd.
7. Deploy the API
aws apigateway create-deployment \
  --rest-api-id abc123 \
  --stage-name prod

Great, now that we have deployed, we need to check if everything is working correctly.
Step 4: Testing the Application
Now let’s try a test! Let’s send a POST request using curl:
curl -X POST https://<api_id>.execute-api.<region>.amazonaws.com/prod/contact \
  -H "Content-Type: application/json" \
  -d '{"name":"Mario Rossi", "email":"mario@example.com"}'
If the test fails with this error

Some configurations are missing, don’t worry, and the reasons for the error can be three:
A. The package uuid is not included in the .zip
You used require('uuid'), but it might not have been included in the package. Check that in the function.zip there is node_modules/uuid.
B. The DynamoDB table does not exist or the name is incorrect
Check that it exists exactly table named Contacts.
C. The IAM role does not have permission dynamodb:PutItem
Make sure you have attached the policy AmazonDynamoDBFullAccess the role of lambda
In my case, it’s because I didn’t attach the DynamoDB policy to the Lambda role.
With this command
aws iam attach-role-policy --role-name LambdaDynamoDBRole --policy-arn arn:aws:iam::aws:policy/AmazonDynamoDBFullAccessYou can attach the policy to the Lambda role, wait a few seconds, and then rerun the deploy command.

Expected response:
{
  "message": "Contatto salvato con successo",
  "id": "d91f..."
}

Check in the DynamoDB console that the data has been saved correctly.
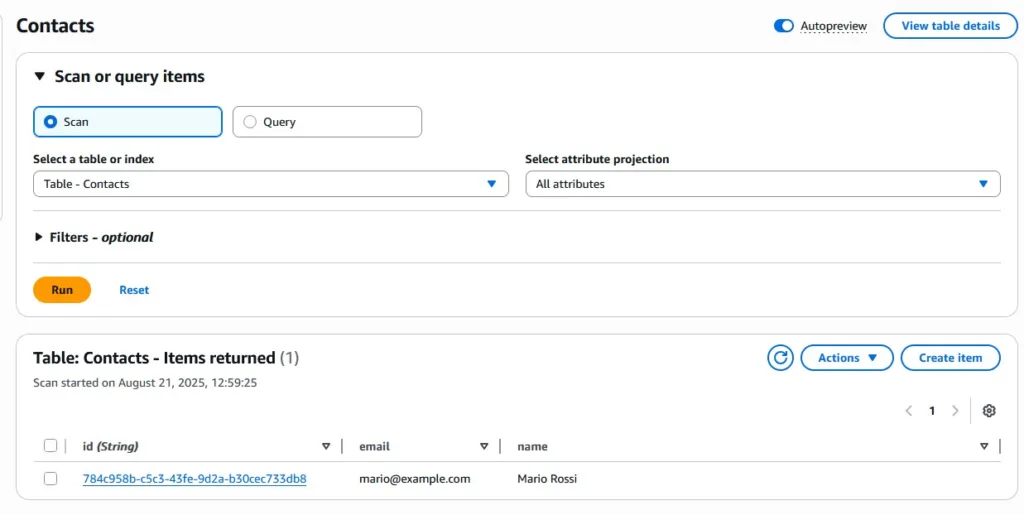
As we can see from the DynamoDB screen, our POST call was successful.
Conclusion
You have just built a completely serverless web API with Lambda, API Gateway e DynamoDB, without having to manage any server!
We’ve reached the end of this tutorial. I hope it helped you better understand the topic or solve other related problems. Thank you for making it this far, and see you in the next tutorial. See you soon!!
Start your Serverless journey now!
Hai trovato utile questa guida? Condividila o visita tooldech.com for more practical tutorials on DevOps, Cloud, and Automation!
Follow us on our social media!
I have been browsing online more than three hours today yet I never found any interesting article like yours It is pretty worth enough for me In my view if all website owners and bloggers made good content as you did the internet will be a lot more useful than ever before
Thank you Tatyana, your message is really powerfull for me
Your blog is a true gem in the world of online content. I’m continually impressed by the depth of your research and the clarity of your writing. Thank you for sharing your wisdom with us.
certainly like your website but you need to take a look at the spelling on quite a few of your posts Many of them are rife with spelling problems and I find it very troublesome to inform the reality nevertheless I will definitely come back again
Your blog is a testament to your expertise and dedication to your craft. I’m constantly impressed by the depth of your knowledge and the clarity of your explanations. Keep up the amazing work!
Your writing has a way of making even the most complex topics accessible and engaging. I’m constantly impressed by your ability to distill complicated concepts into easy-to-understand language.
Excellent blog here Also your website loads up very fast What web host are you using Can I get your affiliate link to your host I wish my web site loaded up as quickly as yours lol
Usually I do not read article on blogs however I would like to say that this writeup very compelled me to take a look at and do it Your writing style has been amazed me Thank you very nice article
I am not sure where youre getting your info but good topic I needs to spend some time learning much more or understanding more Thanks for magnificent info I was looking for this information for my mission
Ive read several just right stuff here Certainly price bookmarking for revisiting I wonder how a lot effort you place to create this kind of great informative website
Thank you I have just been searching for information approximately this topic for a while and yours is the best I have found out so far However what in regards to the bottom line Are you certain concerning the supply
Hi i think that i saw you visited my web site thus i came to Return the favore Im attempting to find things to enhance my siteI suppose its ok to use a few of your ideas
I just wanted to drop by and say how much I appreciate your blog. Your writing style is both engaging and informative, making it a pleasure to read. Looking forward to your future posts!
you are truly a just right webmaster The site loading speed is incredible It kind of feels that youre doing any distinctive trick In addition The contents are masterwork you have done a great activity in this matter
I absolutely love your blog and find a lot of your post’s to be precisely what I’m looking for.
Would you offer guest writers to write content for you personally?
I wouldn’t mind creating a post or elaborating on a few of the subjects you write
regarding here. Again, awesome web log!
https://xn--krken23-bn4c.com
This is a comprehensive guide to health insurance for
small contracting businesses. It’s exactly the kind
of advice I needed to start looking for employee plans.
Enrollment insurance
Definitely believe that which you said. Your favorite justification seemed to be on the internet the simplest thing to be
aware of. I say to you, I certainly get annoyed while people consider worries that they just don’t know about.
You managed to hit the nail upon the top and also defined out the whole thing without having side effect , people can take a signal.
Will likely be back to get more. Thanks
Butch Vanderpool