Good morning everyone, today we’re going to talk about a tool widely used by those who work with Docker.
Docker Hub it is one of the most widely used tools by developers and DevOps engineers around the world. If you use Docker, sooner or later you will need a place whee share, save and download images quickly and easily.
In this guide, I’ll walk you through everything step-by-step: from creating your account, to building your first image, all the way to publishing it on Docker Hub and performing the final verification.
The target is defined: …by the end of this article, you will have published your first fully working image on Docker Hub.even if you’re starting from scratch.
⚙️ Prerequisites: what you need before getting started
Knowledge request minimal
You don’t need to be an expert. You just need to know how to:
- Open a terminal(macOS, Linux or Windows WSL)
Necessary tools
- Docker installed on our machine, you can to see the first article, how to donwload and install it docker
- Account Docker Hub (we creating)
🔍 What it is and why it’s so important
Docker hub is a registry online where you can:
- Find a official image (nginx, MYSQL, Pyhthon ecc.)
- Upload the your images
- Sharing with other user o with your team
- To use in CI/CD process
Repository
A repository is like a "folder" in Docker, that contain a more version of same image
Example:username/progetto
Inside it, you will find tags such as 1.0.0, 1.1.0, latest.
Tag
The tag indicate the versione of image
Real example:
latest1.0.0dev
Complete structure:
username/repo:tagPublic and Private images
- Public → everyone access with
docker pull - Private → only user authorize
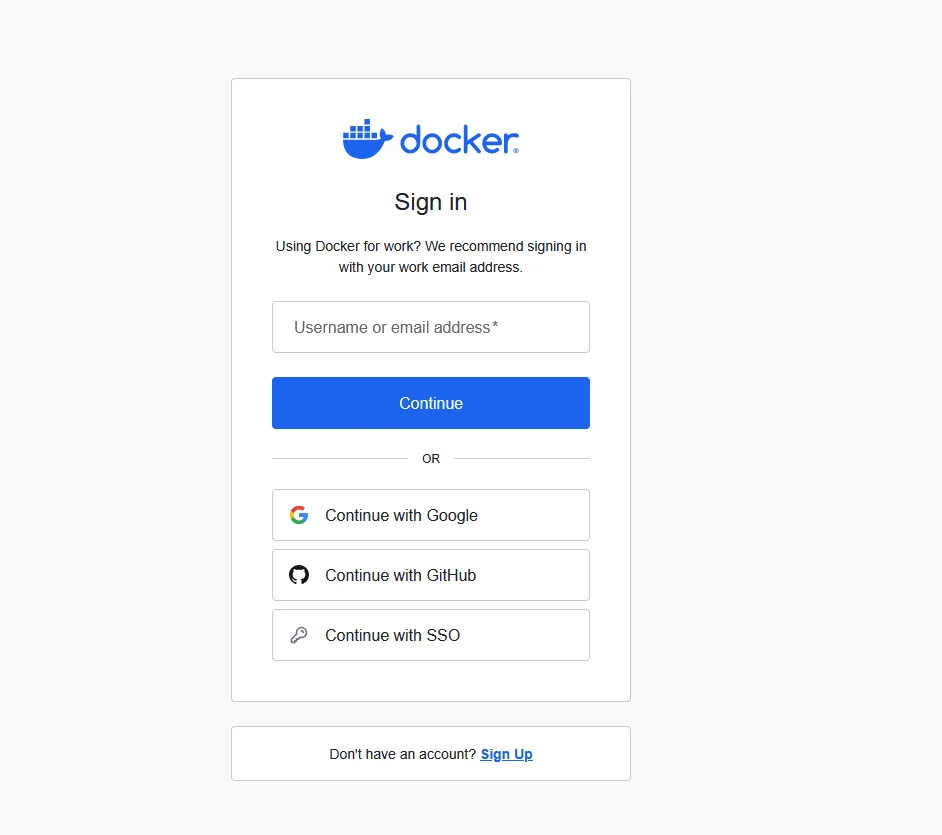
📝 Register
- On https://hub.docker.com/
- Clicca Sign Up or Sign in (you can authenticate quickly with Google)
- Insert:
- username (it will become part of your image names)
- password
- email confirmed
Your account is ready
🐋 Verifying that Docker is working correctly
Version check
docker --versionThis command confirmed that Docker is installed and ready

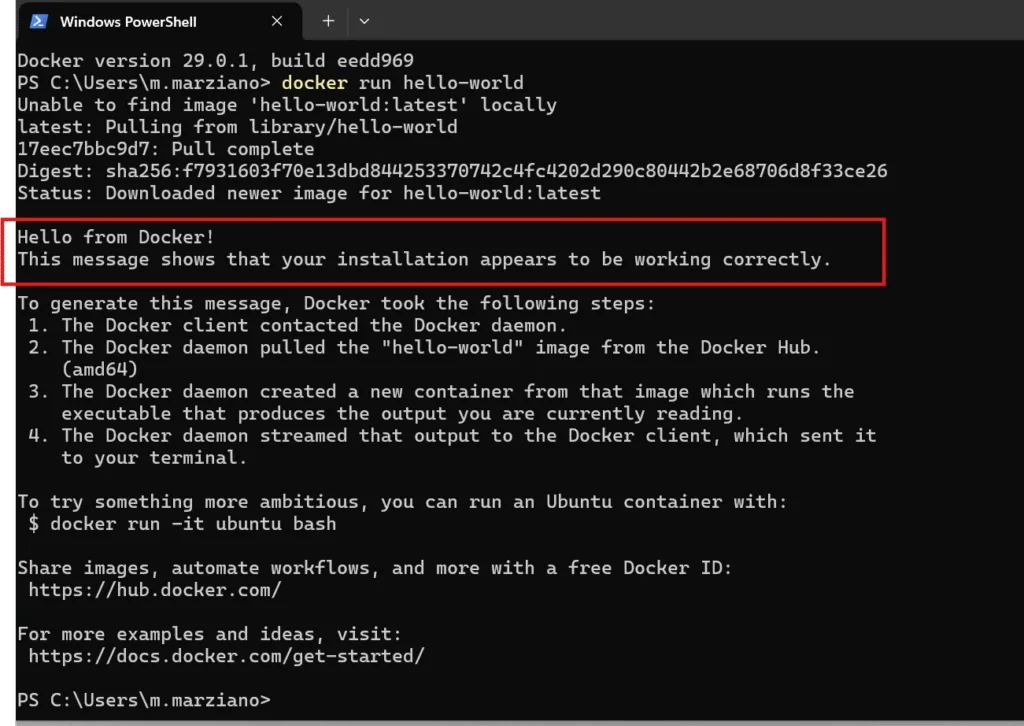
Fast Test with Hello world
docker run hello-worldwhat it does:
- if not existing in locally, Docker will download it from Docker hub
- Execution a shot script, that print a message
If you see "Hello from Docker!", is working!
🔐 Login from terminal
EXEC:
docker loginInsert:
- Username Docker Hub
- Password Docker Hub
If you get:
Login Succeededit means that the terminal is successfully authenticated.

N.B. if you signed in with Google and you’re on Windows with Docker Desktop already connected to Docker Hub, this step is unnecessary — the command will connect automatically. However, if you don’t have either of these two components, you must follow the procedure I showed you.
🛠️ Create the first image Docker
1️⃣ Prepare the application
Create a folder
mkdir dub-demo
cd dub-demo
Create a file called app.sh:
if you stay on unix/linux execution this command, if not stay on linux create a normal file .sh. Docker desktop will be available on the container
nano app.shinside:
!/bin/sh
echo "Ciao da Docker! Questa immagine è stata scaricata da Docker Hub."
Available the file:
N.B. not required if you're using Docker Desktop on Windows, but be careful to keep the Unix line-ending format instead of the Windows one. I used Notepad++ for this.

chmod +x app.sh2️⃣we creating the Dockerfile
nano Dockerfileadd:
FROM alpine:3.20
WORKDIR /app
COPY app.sh .
RUN chmod +x app.sh
CMD ["./app.sh"]
Explain the instructions
FROM alpine:3.20→ a small imageWORKDIR /app→ folder container of workCOPY app.sh .→ copy file from your machineRUN chmod +x app.sh→ execution allowCMD ["./app.sh"]→ command start
🔨 Build of image with ready tag
Replace TuoUsername with your true name
docker build -t TuoUsername/dub-demo:1.0.0 .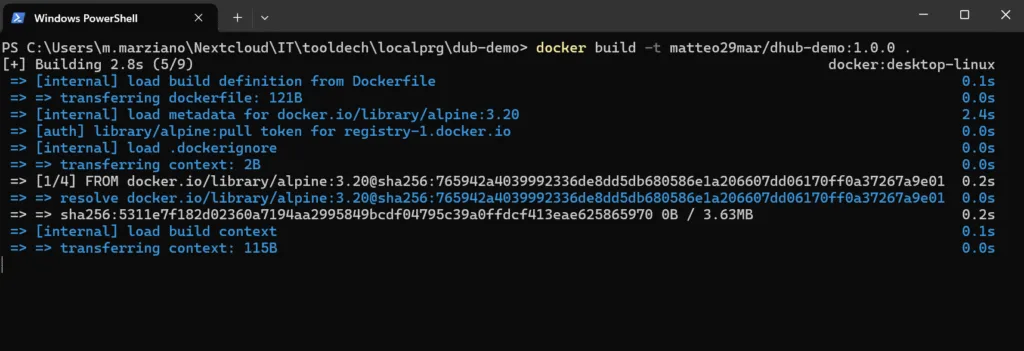
Verifiy that existing:
docker images
📤 Pubblicate image
EXEC:
docker push TuoUsername/dub-demo:1.0.0Docker upload only layer on your repository online
From browser verify:
- Profilo → Repositories
- You should see
dockerhuub-demowith tag1.0.0

🧪 Final demo: download and start the image
This is the proof that everything works.
Before downloading the same image again, remove the one you created to avoid conflicts, and then pull it from Docker Hub.
1️⃣ Download the image
docker pull TuoUsername/dockerhuub-demo:1.0.0
2️⃣ Execution the container
docker run --rm TuoUsername/dockerhub-demo:1.0.0If you see, you have completed the process with success.:
- Creation image
- Build
- Public on Docker Hub
- Download
- Execution

Conclusion
We’ve reached the end of this simple and light-hearted tutorial on Docker Hub.
From this tutorial, you learned how to create a small image, connect to Docker Hub, upload it to your repository, and download it again.
Leave a comment if you need support or if you have new ideas for upcoming articles. It has, as always, been a pleasure guiding you through this journey — see you in the next article, bye!!
Follow us on our social media!
great article, nice a nice article to get started with Docker
A really good blog and me back again.
Very good i like it
看不懂但大受震撼