Good morning everyone and welcome back to a new article from Tooldech! Today we’re talking about Hardening!
When putting a Linux server online — whether it's on a cloud provider like AWS, a VPS, or a machine at home — security is essential. “hardening” is the process of securing of the operating system by reducing the attack surface: unnecessary services are removed, basic protections are configured, and access controls are improved.
In this guide we 'll see 10 step concrete to secure an Ubuntu Linux server (also applicable to Debian and its derivatives), with command explained step by step, ideal even for beginners.
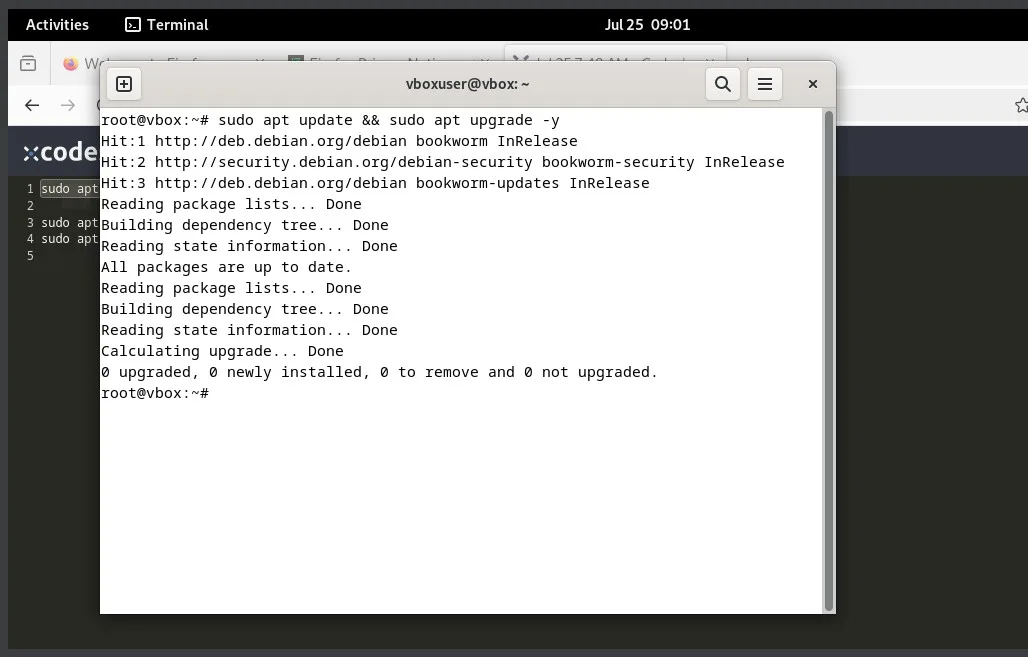
1. Update the system
An outdated system may contain known vulnerabilities that have been fixed in security patches.
Commands
sudo apt update && sudo apt upgrade -yapt update: updates the list of available packages.apt upgrade: installs the updates.-y: automatic confirm.
2. Change the SSH port
The port 22 is common target of automated bot. Changing it reduces the visibility of SSH service.
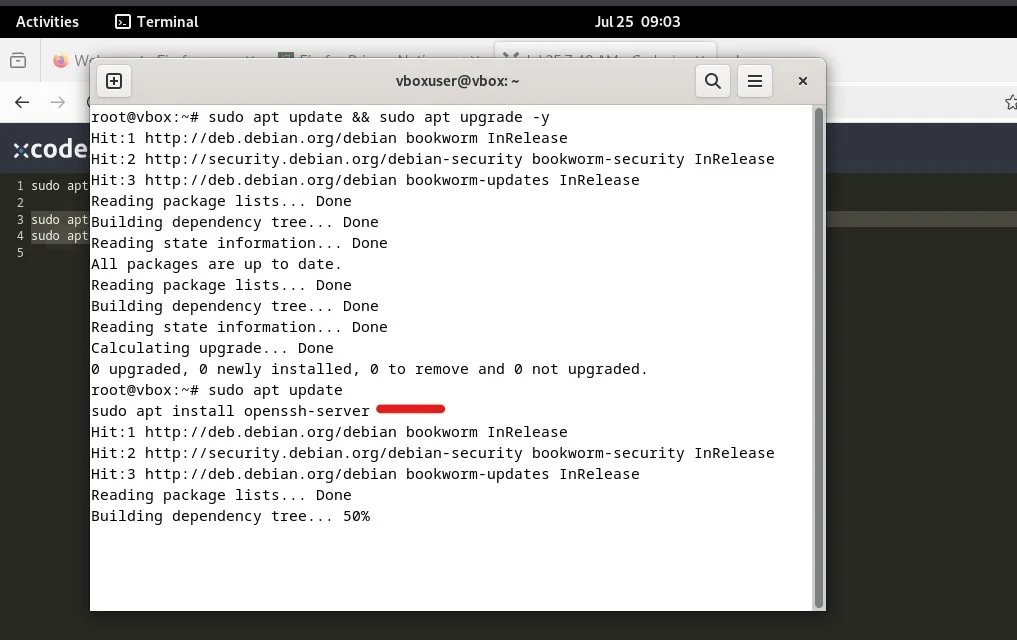
N.B. There is a difference between ssh and sshd: the former stands for ssh client and the second sshd It refers to the server, so if you don’t have the SSH server installed, you'll need to install it. Here's a guide that explains how to do it. sshd .
Commands
Once the SSH server is installed, you can proceed with the series of commands.
sudo nano /etc/ssh/sshd_config
Find the row:
#Port 22and replace it with, for example:
Port 2222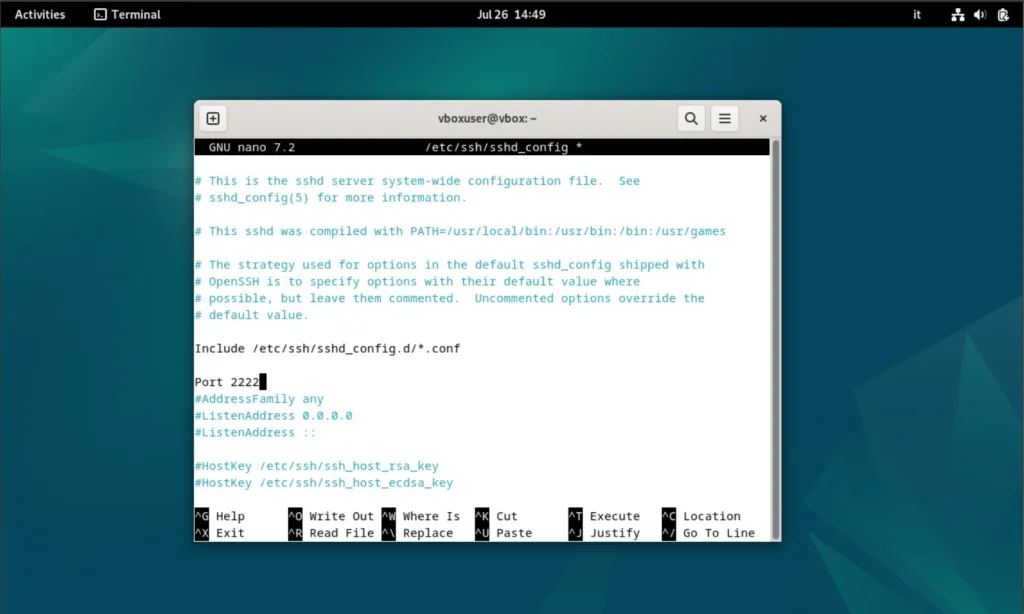
Then restart the service:
sudo systemctl restart sshdRemind: If you have an active firewall, open the new port (see step 4).
3. Disable SSH access as root
User root It has full privileges. If compromised, the entire system is exposed and can be taken over by an attacker.
Commands
Edit the file :
sudo nano /etc/ssh/sshd_configFind the row:
PermitRootLogin yes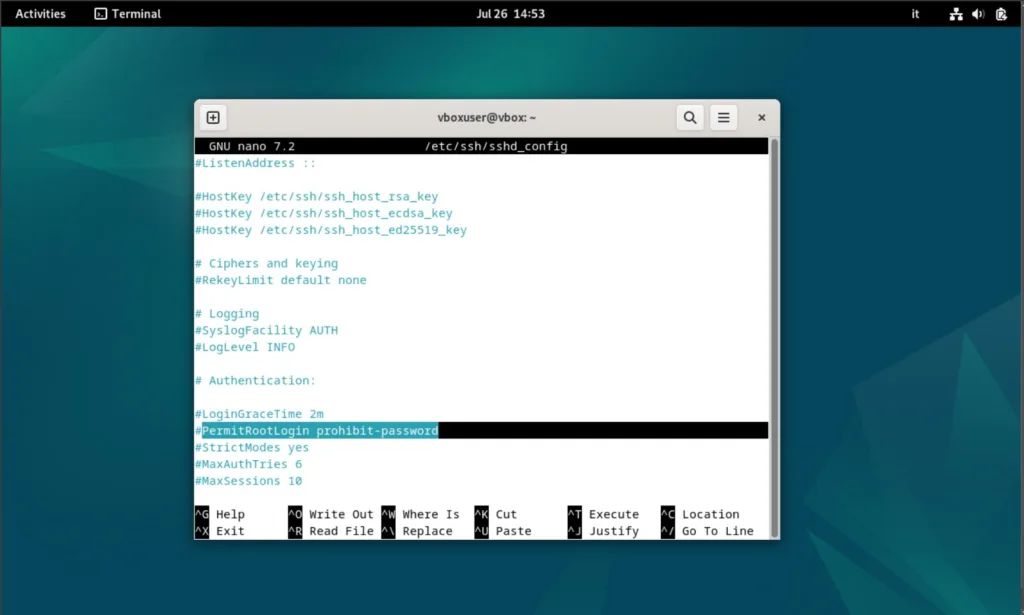
and change in:
PermitRootLogin noRestart SSH:
sudo systemctl restart sshd4. Allow the firewall with UFW
Block all unauthorized connections.
Commands
sudo apt install ufw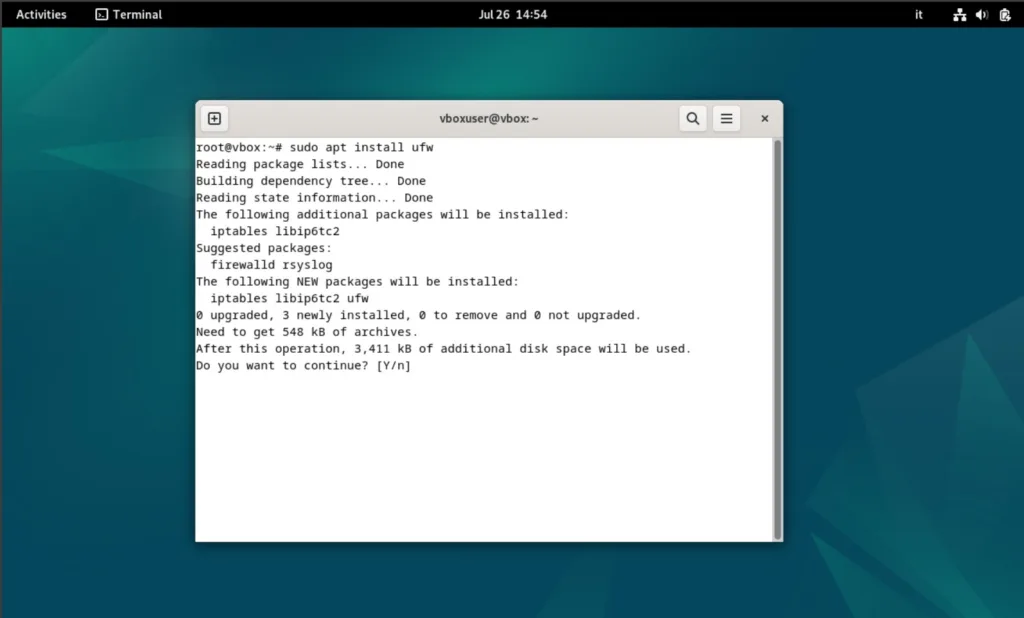
sudo ufw allow 2222/tcp # se hai cambiato la porta SSH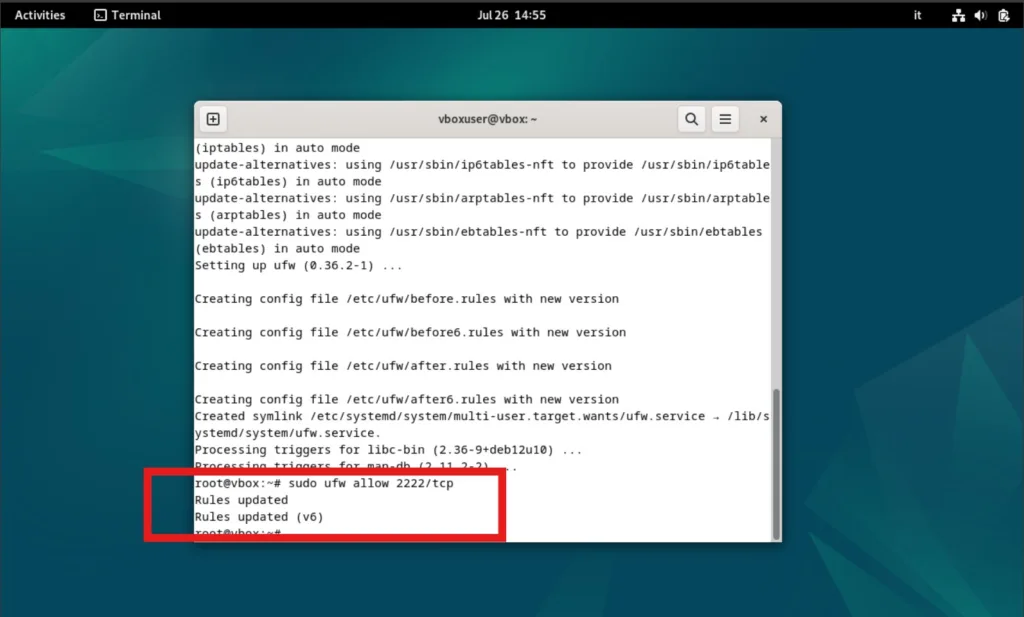
sudo ufw enable
sudo ufw status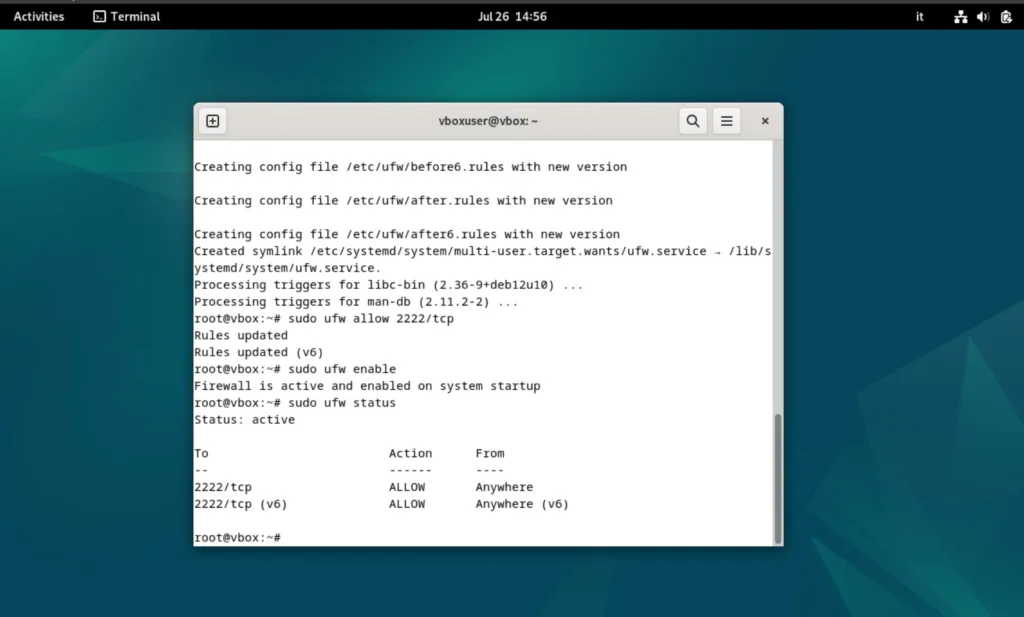
ufw It's the simplified firewall for Ubuntu/Debian. You can also allow HTTP and HTTPS:
sudo ufw allow 80,443/tcp5. Install Fail2ban
It prevents brute-force attacks by blocking IP addresses after repeated failed attempts.
Commands
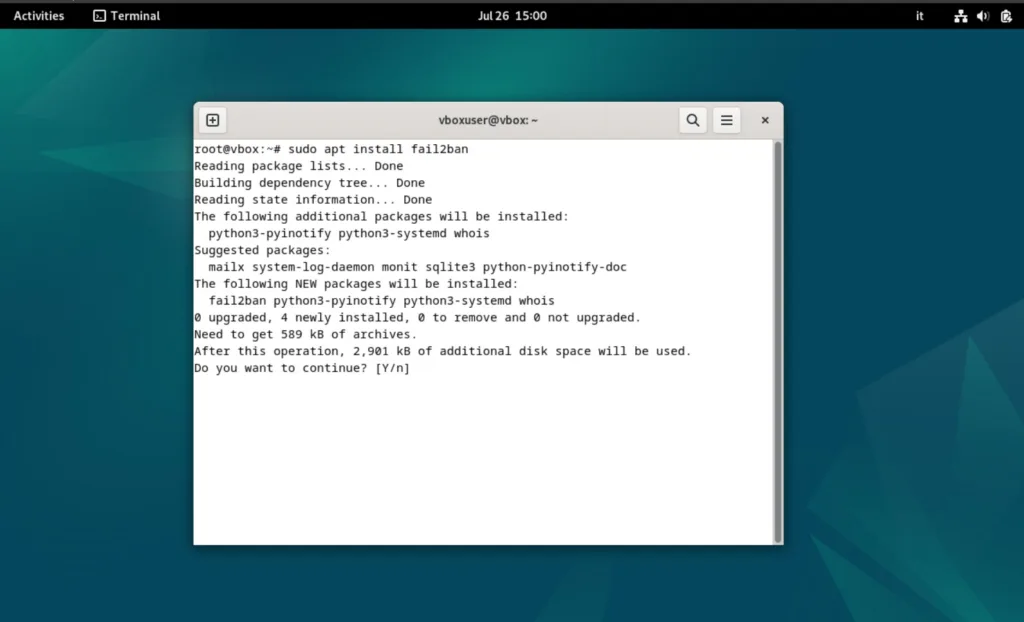
sudo apt install fail2ban
sudo systemctl enable fail2ban --now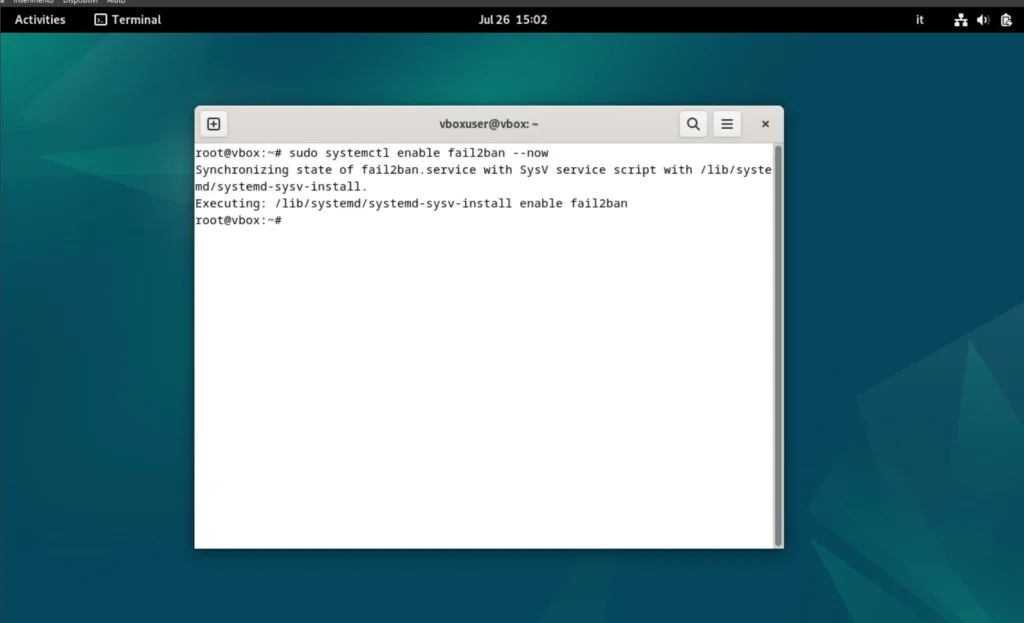
To configure:
sudo cp /etc/fail2ban/jail.conf /etc/fail2ban/jail.local
sudo nano /etc/fail2ban/jail.localVerifiy that [sshd] is active:
[sshd]
enabled = true
port = 2222
logpath = %(sshd_log)s
maxretry = 5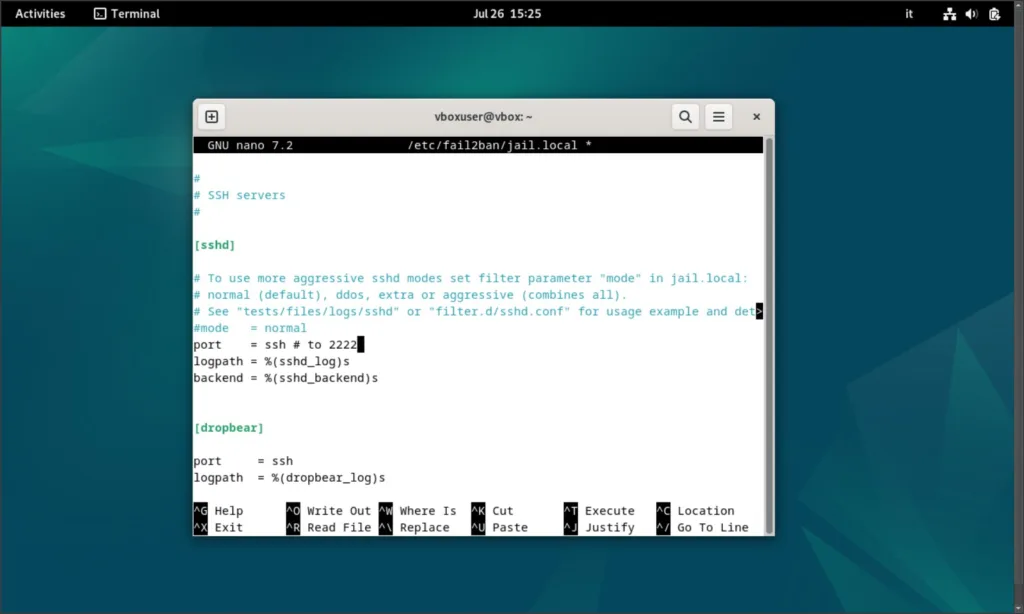
Restart:
sudo systemctl restart fail2ban6. Disable unnecessary services
Every running service is a potential entry point.
Commands
List of services actives:
sudo ss -tuln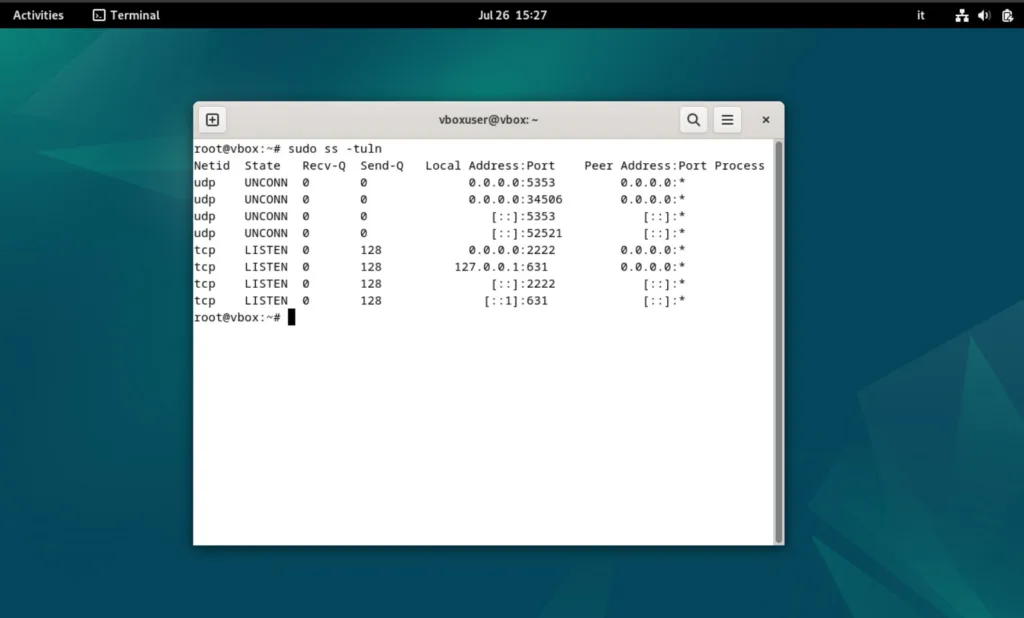
Or:
sudo systemctl list-units --type=service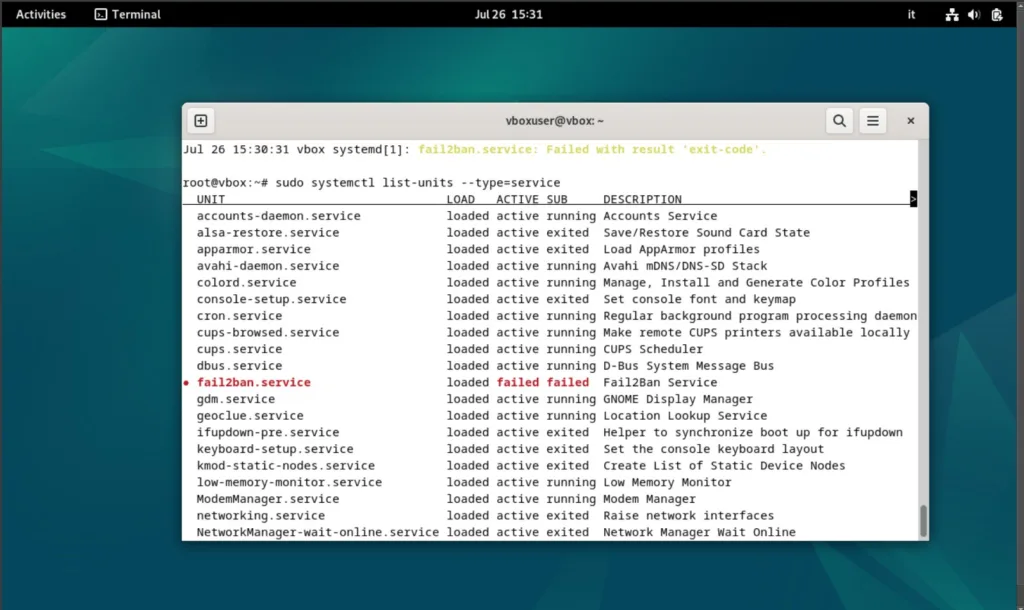
Disable the non-essential ones:
sudo systemctl disable nome_servizio --now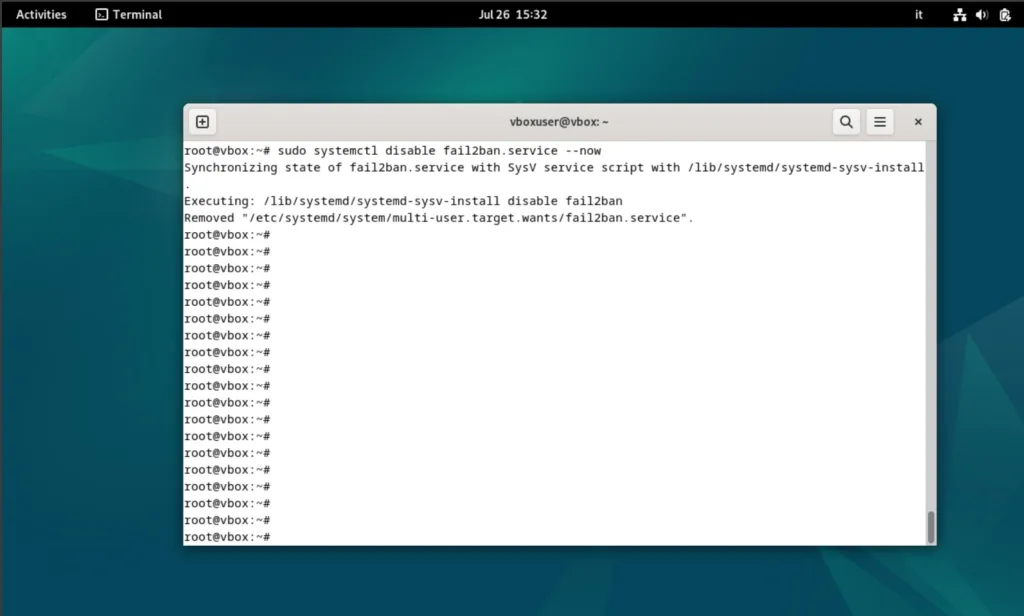
Example:
sudo systemctl disable avahi-daemon --now7. Use SSH authentication with a public key
More secure than password authentication, performed from another local PC, not directly on the server.
Commands
ssh-keygen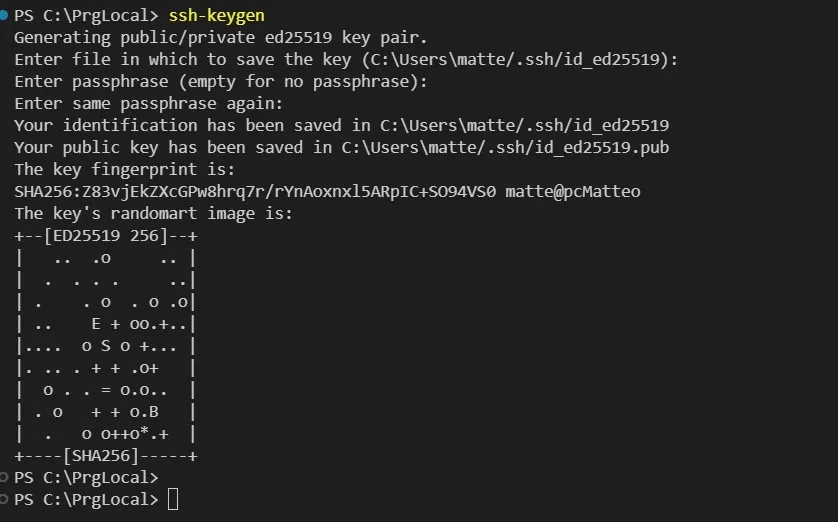
Send the key to server:
ssh-copy-id -p 2222 utente@ip_del_serverIn the file /etc/ssh/sshd_config:
PasswordAuthentication no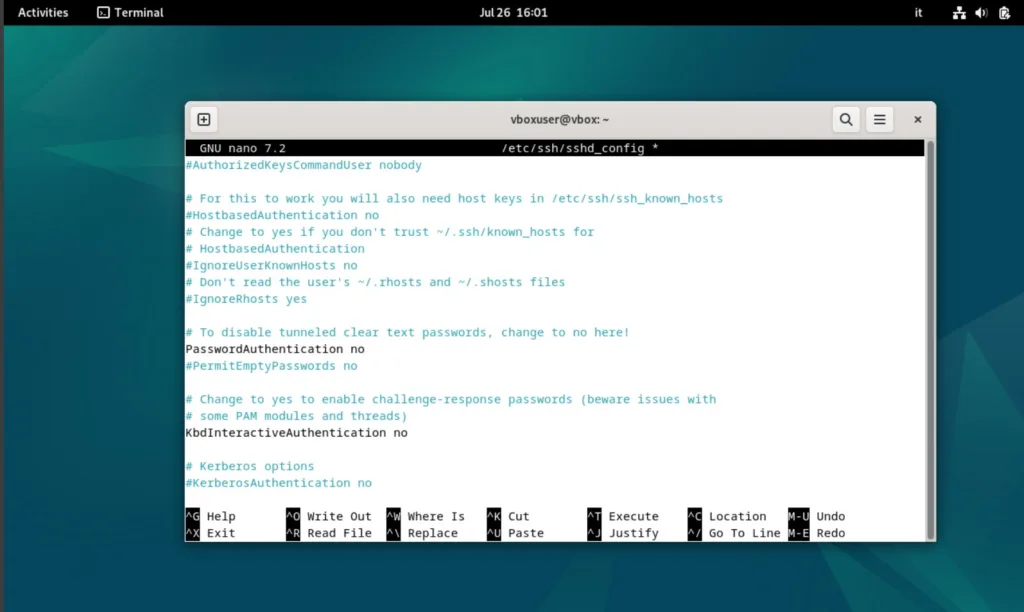
8. Enable logging and automatic auditing
Keeping track of actions is useful for post-attack analysis.
Commands
Verifiy the logs:
journalctl -xe
sudo less /var/log/auth.log
You can also install logwatch:
sudo apt install logwatchAnd configure it to send daily emails.
9. Create a regular user with sudo privileges
Working as root is not recommended; instead, it's better to create a user with root-like privileges.
Commands
sudo adduser nomeutente
sudo usermod -aG sudo nomeutente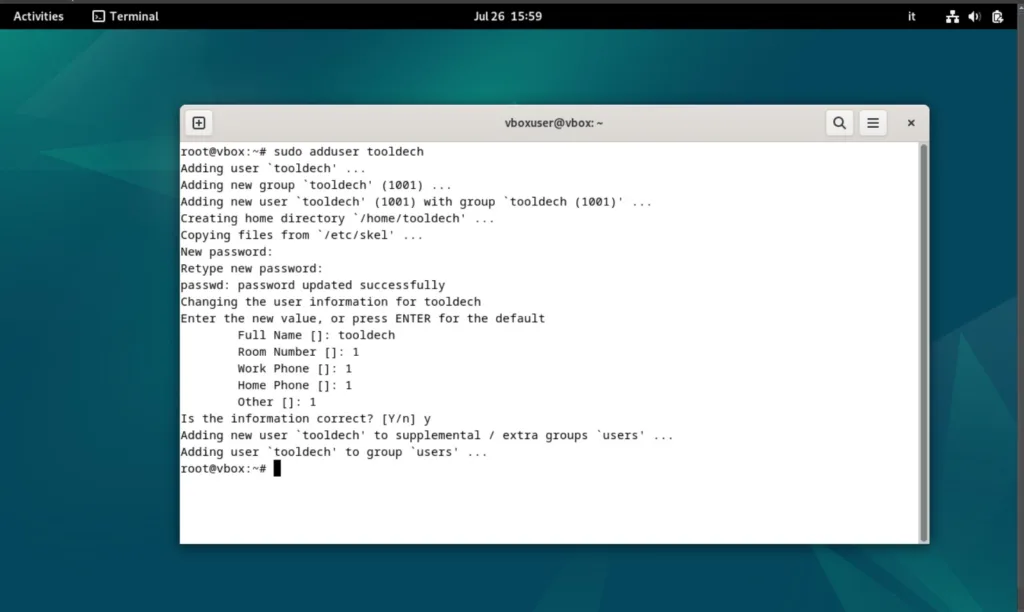
You can access with:
ssh -p 2222 nomeutente@ip_server10. Configure automatic security updates
It protects you from vulnerabilities without requiring manual intervention.
Commands
sudo apt install unattended-upgrades
sudo dpkg-reconfigure --priority=low unattended-upgrades
Verifiy:
sudo nano /etc/apt/apt.conf.d/50unattended-upgradesMake sure there is:
"${distro_id}:${distro_codename}-security";Working final demonstration
- Access from another PC:
ssh -p 2222 nomeutente@ip_server- Try logging in with
root: denied access. - Check the firewall:
sudo ufw status verbose- Verify the logs of Fail2ban:
sudo fail2ban-client status sshd- Simulate an automatic update:
sudo unattended-upgrade --dry-run --debugEverything working? Your server is now more secure then before!
Conclusion
Applying these 10 steps will protect you from most automated attacks. Every server exposed to the Internet must be proactively secured, especially if it hosts important data or services.
Thank you for reading all the way to the end, see you in the next tutorial.
Follow us on our social media!